For those who are planning to migrate to Corel products but are concerned about file formats, CorelDraw efficiently works with older and less-supported file types such as WMF.
| Tip | WMF is an older image format originally designed for Microsoft Office and Windows. In CorelDraw, working with WMF is similar to working with any other imported bitmap or vector file. |
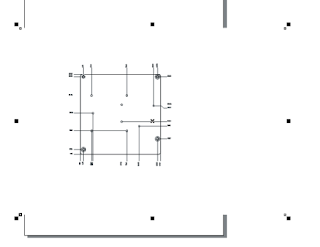
Using the Import… command from the File menu, you can position an WMF image in an empty document.
In most cases, WMFs are too large for the Document Page. Use the Pick Tool and the SHIFT key to resize the image using the control handles.

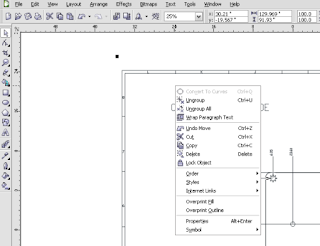
To remove unwanted portions of the WMF, right-click the image and click Ungroup All. Use the Pick tool to select objects and click Delete. You can also remove the white background that normally serves as backbone to the imported WMF.

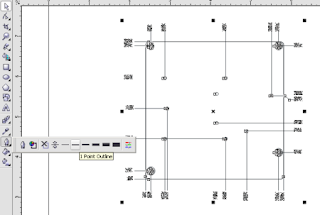
| Important | As outlined in the Windows Metafile technical notes in CorelDraw help, an exported WMF will normally be displayed with extremely thin lines which aren’t fit for print, PDF or the web. To resolve this issue, select the object or group of Objects and use the Outline Tool to increase the line width to at least 1 before exporting. On occasion, you may need to try higher values or a different value for parts of the image. A higher value, however, may also make any included text unreadable. As a workaround, you can delete the text and use CorelDraw's Text Tool to add the text. Afterwards, you can export the object to .ai, .eps or SVG. |

Windows 7 and CorelDraw X3 with the WMF file created in Adobe Illustrator CS2.


0 comments:
Post a Comment