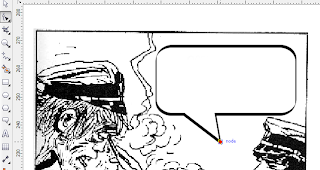
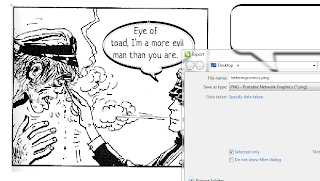
1. Using the Pick Tool, move and resize your Callout shape to position it on on top of the comic book panel. If you used the Callout Shape Tool to create your balloon, use the Shape tool to adjust the node and point the callout to the speaker.
2. Before adding the text, choose your font carefully. Using standard computer fonts like Arial, Verdana, or Times New Roman make for an uninteresting visual, so use a font that looks natural. Traditional Marvel Comics were hand-lettered and European/manga books were lettered using a calligraphy brush. Adobe and Corel products provide plenty of fonts, but I prefer getting an original (and open source font) from Google Web Fonts . I recommend using fonts that have a "handwritten" look. Use Google Web fonts' filters to find the perfect font for your project.
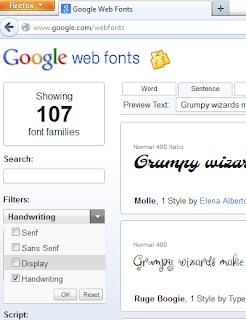
For this example, I downloaded a font called Neucha, which fit the somewhat archaic feel of Corto Maltese's adventure. Don't forget to install the font before using them in CorelDraw X5.
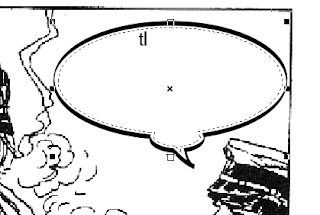
4. Select the Text Tool from the Toolbox and move the cursor to the edge of the balloon until it becomes an insert icon with AB next to it. Click once and CorelDraw will create a Text area within the callout shape. Enter the text or translation. Adjust the paragraph and size properties of the text as needed.
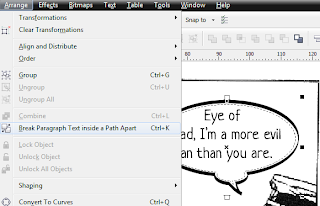
5. If you aren't happy with how the text is arranged in the balloon even after formatting the text or reshaping the callout, you can edit the text as an object by selecting the text area and clicking Arrange then Break Paragraph Text Inside Apart.
6. To export the panel or comic book page, use the Pick Tool and select both the callout and the panel. Click File and then Export. Check Selected Only on the Export dialog box.
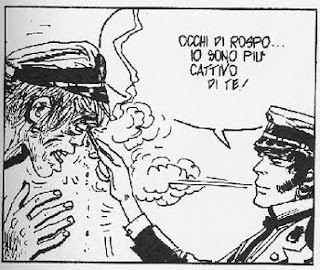
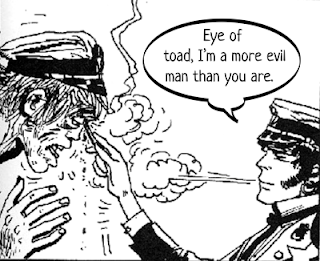
7. Here's the original panel and the final translation.


0 comments:
Post a Comment