Installing fonts in Mageia Gnome 3
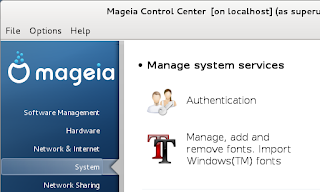
1. In Mageia Control Center, click System on the left panel. Click Manage, add and remove fonts. Import Windows fonts.

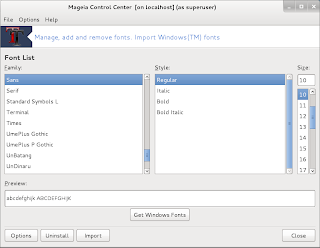
2. In the font manager window, click Import. In the Import fonts, click Add.

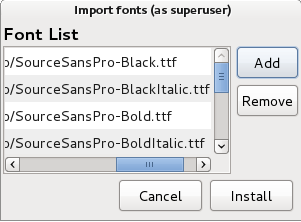
3. Navigate to the folder containing the extracted Source Sans Pro. Select all the fonts and click Ok. The fonts will appear on the Font List box. Click Install.

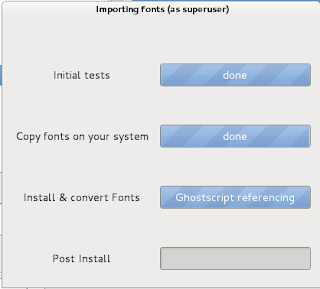
4. Mageia will test, install, and even convert incompatible fonts if needed.

5. The font is now available for use in any of the applications in Mageia.


0 comments:
Post a Comment