Using Adobe's family of products has a lot of advantages considering the tight integration between their code and features. However, users can easily extract an image from a PDF created from Adobe Illustrator or InDesign easily just by using the free Adobe Reader.
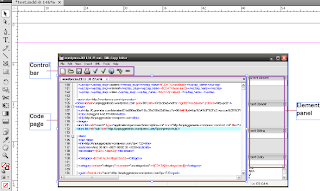
This sample consists of a screenshot and call outs published to PDF using InDesign.

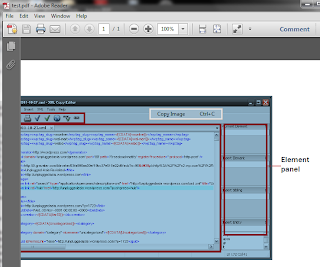
To extract the image:
1. Open the PDF using Adobe Reader.
2. Zoom in to the image to be extracted. Zoom in as closely as possible.
2. Click on the image to highlight the screenshot. Right-click and click Copy Image or click CTRL+C.

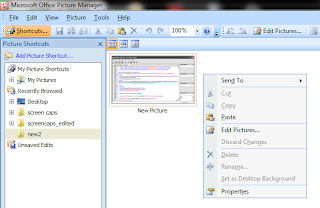
3. Open any image editor. Even the free Microsoft Paint would do. Users with Microsoft Office installed can open the underrated Microsoft Office Image Manager and press CTRL+V. The image will be extracted as a single file, retaining the image's quality and file size (Image quality is dependent on the image quality of the original image file used on the Adobe product). Office Image Manager will use .BMP by default which users can convert to their file format of choice later.

The same process can be achieved using the Snapshot feature in Adobe Reader. Click Edit and Take a Snapshot. This alternative is best for vector images, which cannot be selected directly on the PDF.


0 comments:
Post a Comment