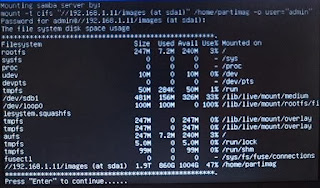
13. Once Clonezilla is able to find the Samba network storage for saving the image, the system will prompt to confirm the process. Press Enter.

14. Input a name for the saved image.
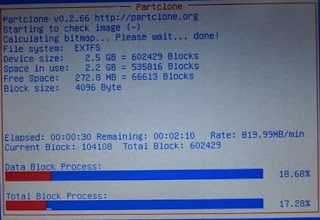
15. Clonezilla will begin creating the image. If you opted to verify the image, Clonezilla will verify the created files. Once the process is over, Clonezilla will provide options to either reboot or exit the Linux distribution.


0 comments:
Post a Comment